M5Stack Core2 for AWSが届いたのでHello Worldしてみる
09/18 17:25 2021
01/03 14:22 2026

はじめに
業務でATECC608Aを使う機会があり、もうちょっとCレイヤーに入り込めたら実装できたであろう出来事があったため、素振りのため買ってみました。
今回は、下記について試してみました。
- AWS IoT EduKitの一部サンプルを動かしてみる
- プロジェクトを新規作成してHello Worldしてみる
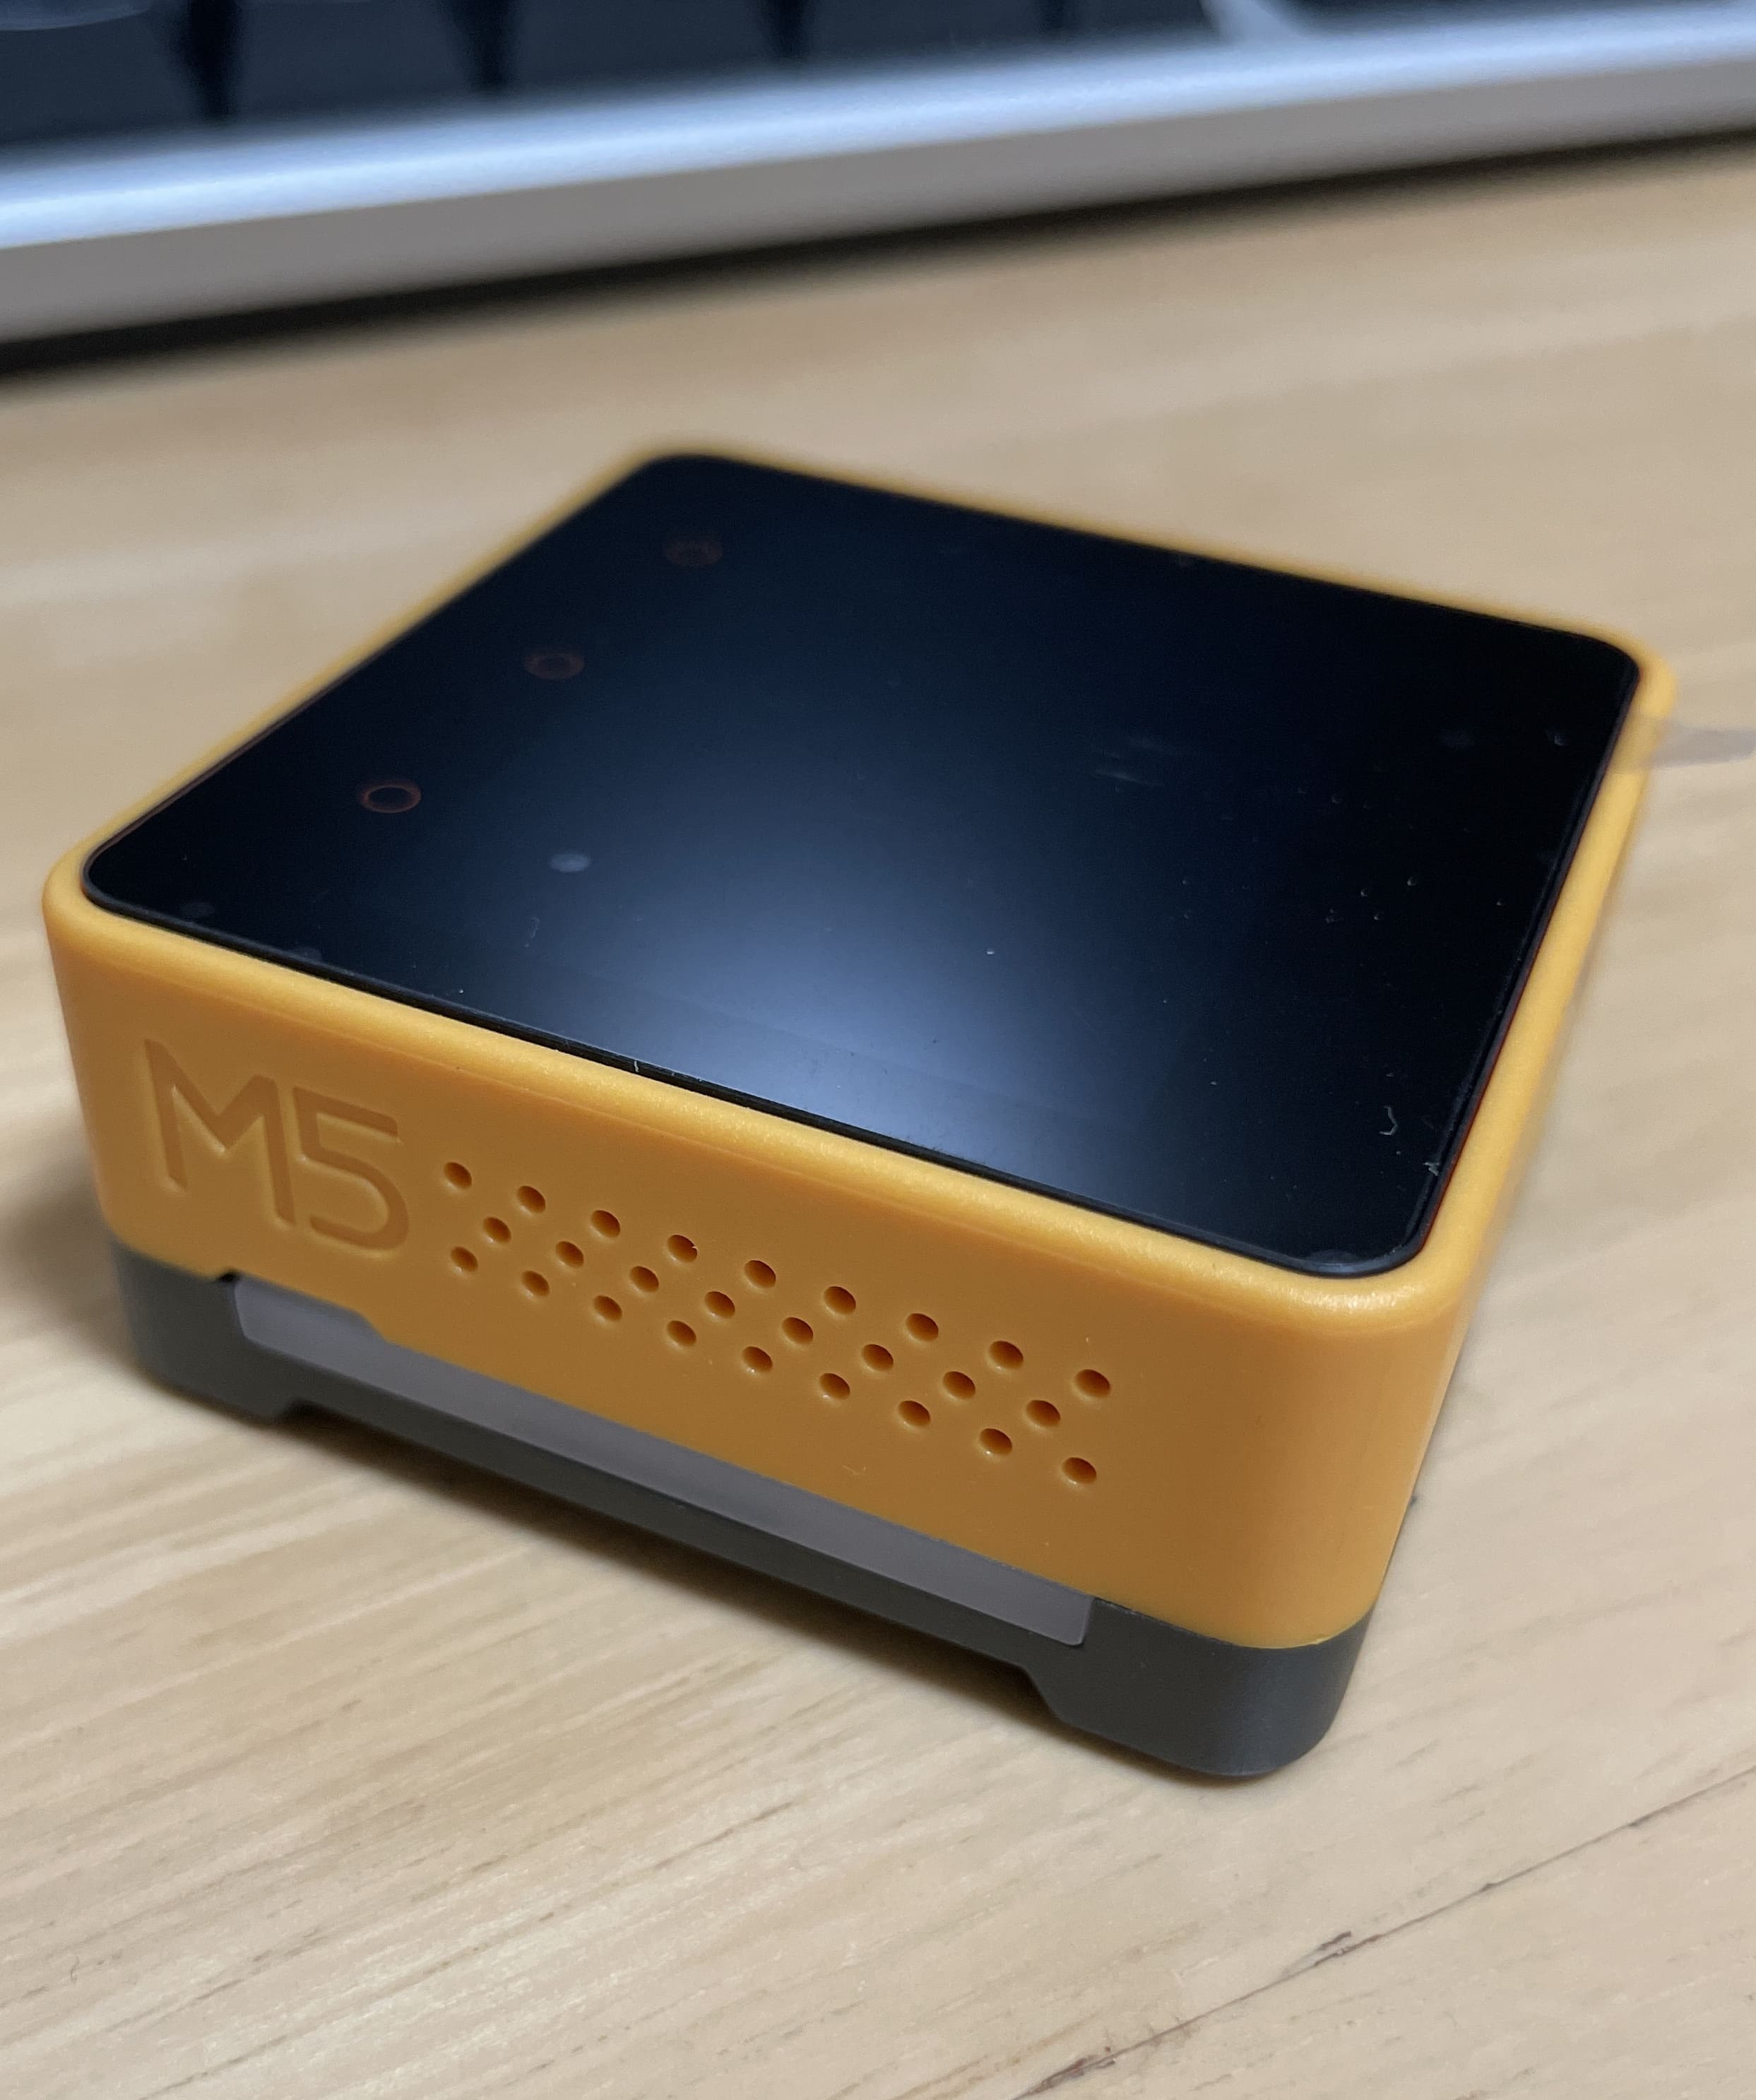
外観
パッケージ

本体
AWSカラーがかっこいい(!)
内容物

PlatformIOを使ってAWS IoT EduKitを動かしてみる
はじめに
AWS IoT EduKitに従って環境構築を進める。
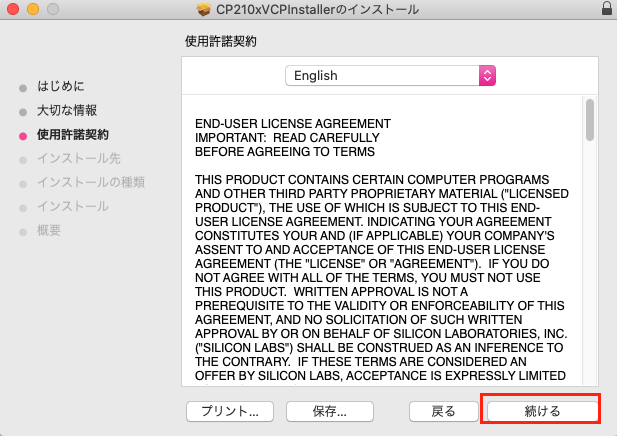
Silicon Labs USB to UART bridgeのセットアップ
Silicon Labs USB to UART bridgeのセットアップを参考にし、設定

インストーラーが起動します

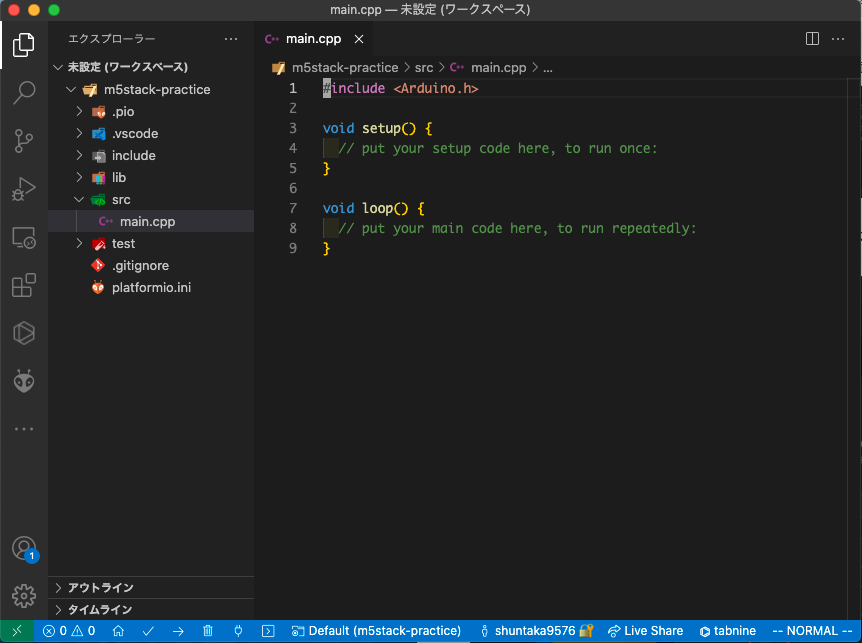
VSCodeの設定

ソースコードの取得
ソースコードの取得 の手順は行いませんでした。変わりに、github.com/m5stack/Core2-for-AWS-IoT-EduKitをghqを利用して取得。
$ ghq get https://github.com/m5stack/M5Core2.git
スマートフォン向けアプリのダウンロードとインストール
スマートフォン向けアプリのダウンロードとインストールの通り実施
USBポートの確認
USBポートの確認を参考に、/dev/cu.SLAB_USBtoUARTをコピーします。

PlatformIO でプロジェクトを開く


先ほどコピーした内容をgithub.com/m5stack/Core2-for-AWS-IoT-EduKit/Getting-Started/platformio.iniに追加
platformio.ini
-; upload_port =
+upload_port = /dev/cu.SLAB_USBtoUART
platformio.ini全体
platformio.ini
; AWS IoT EduKit Getting Started PlatformIO Configuration File
[platformio]
src_dir = main

[env:core2foraws]
platform = espressif32@3.2.0
framework = espidf
board = m5stack-core2
monitor_speed = 115200
upload_speed = 2000000
board_build.f_flash = 80000000L
board_build.flash_mode = dio
build_unflags = -mfix-esp32-psram-cache-issue

; If PlatformIO does not auto-detect the port the device is virtually mounted to,
; uncomment the line below to set the upload_port (remove the ";") and paste the
; copied port you identified from PIO Quick Access menu --> PIO Home --> Devices
; after the equal sign. You do not need to add quotes
;(e.g. upload_port = /dev/cu.SLAB_USBtoUART).
;
upload_port = /dev/cu.SLAB_USBtoUART


; Custom partition file
board_build.partitions = partitions_4MB_sec.csv

; Files to include in upload to non-volitile storage (nvs flash)
board_build.embed_txtfiles =
  components/esp_rainmaker/server_certs/rmaker_mqtt_server.crt
  components/esp_rainmaker/server_certs/rmaker_claim_service_server.crt
  components/esp_rainmaker/server_certs/rmaker_ota_server.crt

; Please visit documentation for the other PlatformIO
; configuration options and examples
; http://docs.platformio.org/page/projectconf.html
ターミナルを開く
ターミナルを開きます。本手順でTerminalを開かないとpioコマンドが利用できない

ファームのビルド/転送
ファームウェアのビルド
pio run --environment core2foraws
ビルドしたファームを転送
pio run --environment core2foraws --target upload
シリアルの出力を監視
自分がM5Stackに対して行ったタッチ操作などイベントを監視可能
pio run --environment core2foraws --target monitor
ファームの削除
デバイスのファームウェアを消去
pio run --environment core2foraws --target erase
そのままだと、前のファームが動いている状態。再起動するとディスプレイには何も映らない。そしてプチプチ変な音がする。。(これは私だけかもしれない..)
プロジェクト作成とライブラリ追加
プロジェクト作成

保存場所を自分で決めたい場合、Locationのチェックボックスを外します。画像では見えてませんが、Finishボタンを押下します。

プロジェクトが作成され、自動的にVSCodeで作成したプロジェクトが開きます。
※ ファイルの変更を管理したい場合は、この段階でgitで初期化した方が良いです。このあとライブラリ追加した際に、設定ファイルの変更差分が追いやすいです。
ライブラリ追加
基本的にVSCodeとPlatformIOでM5Stack Core2開発の記事と同様なので、原文の方をご参考にした方が良いです。
M5Core2を追加
M5Core2で検索


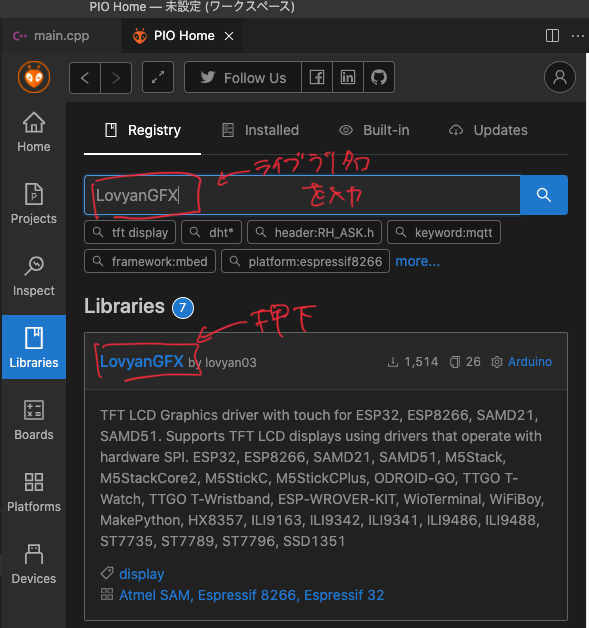
LovyanGFXを追加
M5Core2を追加したのと同じ手順で、LovyanGFXを追加します。
LovyanGFXで検索

追加完了すると下記のメッセージが通知されるみたい。{リポジトリルート}/.pio/libdeps配下に追加されていることが分かる

platformio.ioファイルの変化
追加ライブラリが、lib_depsオプションの中に自動で追記されます。依存管理が捗るので助かります。
platformio.ini
; PlatformIO Project Configuration File
;
;   Build options: build flags, source filter
;   Upload options: custom upload port, speed and extra flags
;   Library options: dependencies, extra library storages
;   Advanced options: extra scripting
;
; Please visit documentation for the other options and examples
; https://docs.platformio.org/page/projectconf.html

[env:m5stack-core2]
platform = espressif32
board = m5stack-core2
framework = arduino
lib_deps =
	m5stack/M5Core2@^0.0.6
	lovyan03/LovyanGFX@^0.4.2
Hello Worldしてみる
ファームウェアをアップロードするポート設定を追記
platformio.ini
upload_port = /dev/cu.SLAB_USBtoUART
サンプルコードを書く
src/main.cpp
#include <M5Core2.h>

// the setup routine runs once when M5Stack starts up
void setup(){

// Initialize the M5Stack object
M5.begin();

// LCD display
M5.Lcd.print("Hello M5Stack");
}

// the loop routine runs over and over again forever
void loop() {

}
ビルド&アップロード
platformioのPROJECT TASKSからBuild -> Uploadを順に実行します

出力されました!LovyanGFXはsrc/main.cppにはないですが、内部的に活用されています。

最後に
また進捗があったら、別途記事を書こうと思います!以降はおまけです。
(おまけ) Arduino.appで最初環境構築したメモ
最初こちらで環境構築しましたが、VSCodeの方が便利だったので没にしました。
はじめに
M5STACK公式で提供されているQUICK STARTに従って環境構築を進める。タブでCore2シリーズを選択。

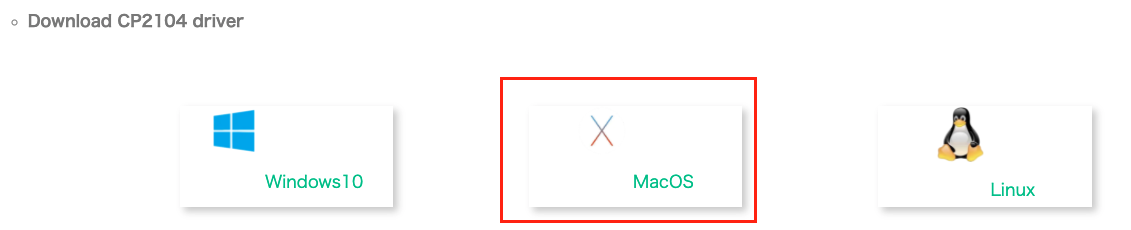
デバイスドライバーのインストール
Mac OSの場合、インストールする前に[システム環境設定]-> [セキュリティとプライバシー]-> [一般]を確認し、「AppStoreと確認済みの開発元からのアプリケーションを許可」になっていることを確認

MacOSのデバイスドライバーを選択
選択すると下記のzipファイルがダウンロードされます

解凍するとdmgファイルになります

pkgファイルをダブルクリックします

インストーラーが立ち上がるので、ポチポチしていきます


インストール中にブロックされたので、セキュリティとプライバシーからインストールを許可設定をしました(Macのインストールあるあるですね)

インストール完了!

Arduino-IDEのインストール
M5STACK公式に書いてある通り、Arduino-IDEを引き続きインストールしていきます

172MBある

解凍して、Arduino.appを立ち上げます

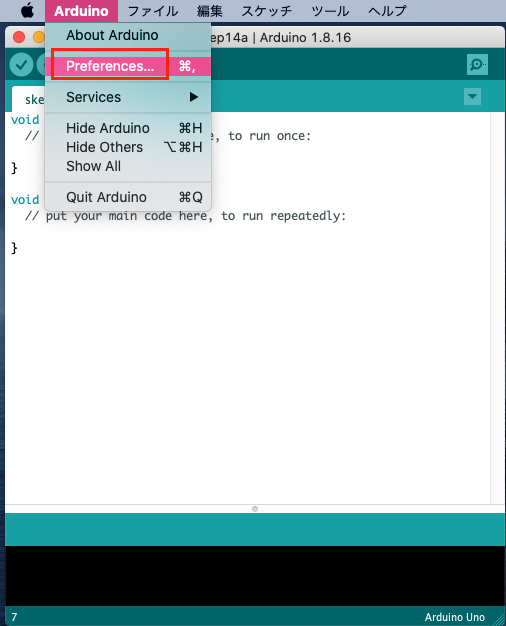
M5Stack Boards Managerのインストール
Preferencesを選択します
追加のボードマネージャのURLに、https://m5stack.oss-cn-shenzhen.aliyuncs.com/resource/arduino/package_m5stack_index.jsonを追加


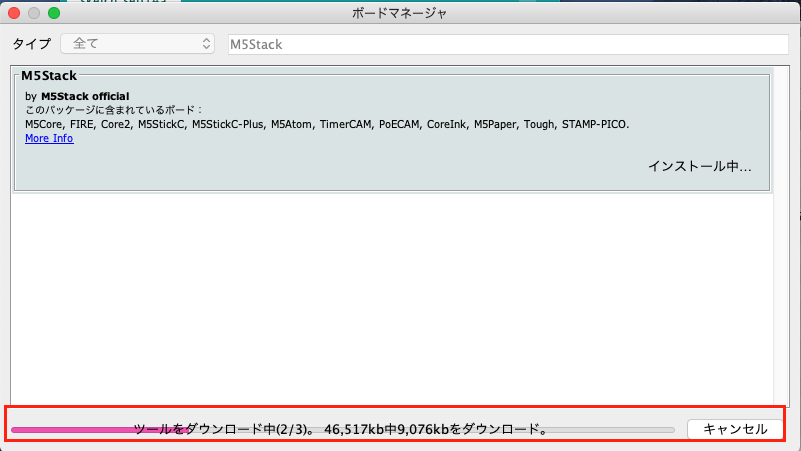
検索窓にM5Stackを入力し、インストールを押下

インストールが開始されると画像のように、進捗バーが表示される(初回インストールが始まらず、アプリを再起動して再度インストールを実施)
ボードにM5Stack-Core2を選択

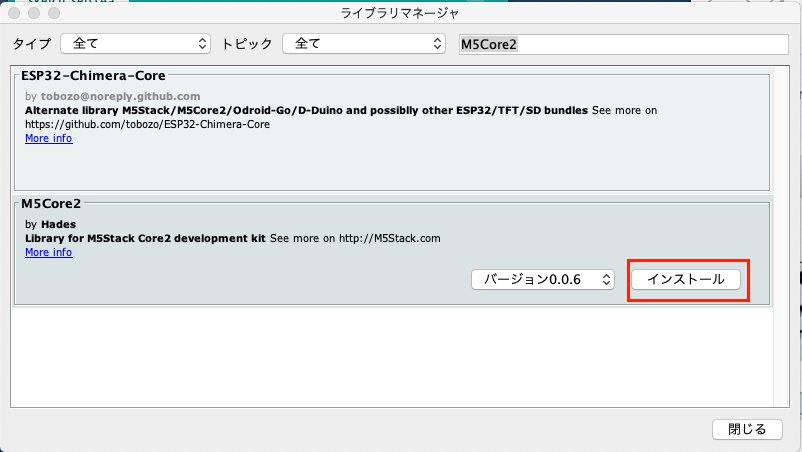
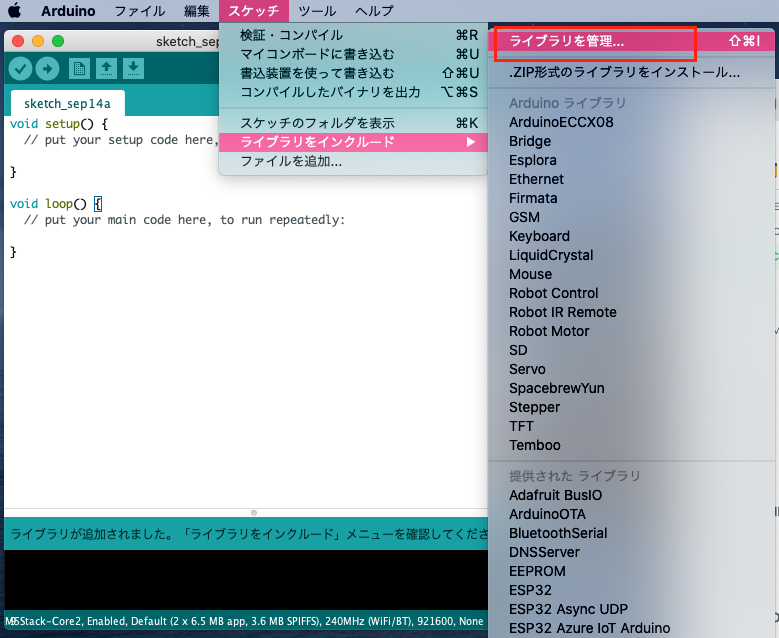
ライブラリ管理を選択

検索窓にM5Core2を入力し、インストールを押下
install allを選択

インストールが開始されます(初回no protcolとエラーメッセージが出力され失敗。アプリを再起動して再度インストールを実施)

AWS IoTEduKit用のCore2用の追加ライブラリのインストール
M5STACK公式の手順でこちらがあるのは助かります。。
前の手順(M5Core2インストール)と同様に、ライブラリマネージャを開き、検索窓にFastLEDと入力。インストールを押下

※ M5スタック公式にはない手順です。M5Core2リポジトリをcloneします。
$ ghq get https://github.com/m5stack/M5Core2.git
zipファイルを追加します

手順通り、cloneしたリポジトリM5Core2/examples/core2_for_aws/配下に、ArduinoECCX08.zipがあるので選択します

インストールしたライブラリを確認します
インストール済みに絞ります

ArduinoECCX08.zipを追加したことで下記のライブラリが追加されたと推測(ECC608関連のライブラリはインストール済みのライブラリに対して検索すると、こちら以外にもあるため違う可能性あり)

shuntaka.dev
This site uses Google Analytics.